Tomb Raider 2013 - Model Modification (Noesis)
In this guide you will learn how to use the Tomb Raider 2013 Mesh Tools to create a mesh mod.
- You can consult this guide to figure out which Lara models you want to modify.
Using Yura
- The very first step is to use Yura to open the game's
.tigerfiles and extract the.drmfiles that contain the assets you'd like to mod.

Using DRMDumper
-
The archive contains a
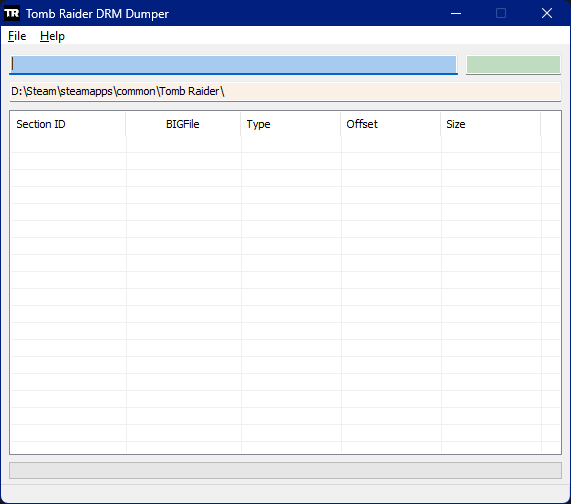
DRMDumperfolder. This is a tool created by Ekey which allows to export the game's.drmfiles to readable data. Drag and drop this folder to your mainTomb Raiderinstallation folder. -
After opening the tool, click on the path contained on the orange-ish coloured field, and select the path to where your game is installed.
-
Click on
File>Open DRMand select the.drmyou'd like to extract. -
Once the process is done, you'll find a folder named as the file you extracted, containing all the extracted data, in the DRMDumper folder.

DRMDumper Issues
- There's one fatal issue with this tool: it is not capable of extracting assets from a single
.drmwhich has calls for different.tigerfiles. For example, all of Lara's.meshfiles are stored inbigfile.000.tiger, so you need to extract the.drmfrom that.tigerin order to get Lara's model. However, we want to inject our mod inpatch.000.tiger, and the section number used in the other bigfile will not match. So, the ultimate solution is to extract Lara's.drmfrom both archives, and when using DRMDumper on the.drmextracted frompatch.000.tiger, scroll down the asset list to check what section number the file is using. Then rename the.meshextracted from the.drmfrombigfile.000.tigerto that.
It's tedious, but it's the only way for this to work.
Using Noesis to Import Models
-
In order to actually view and modify models, you'll need Noesis and the included plugin in this archive. To install it, drop the
tras.pyfile inNoesis/plugins/python. -
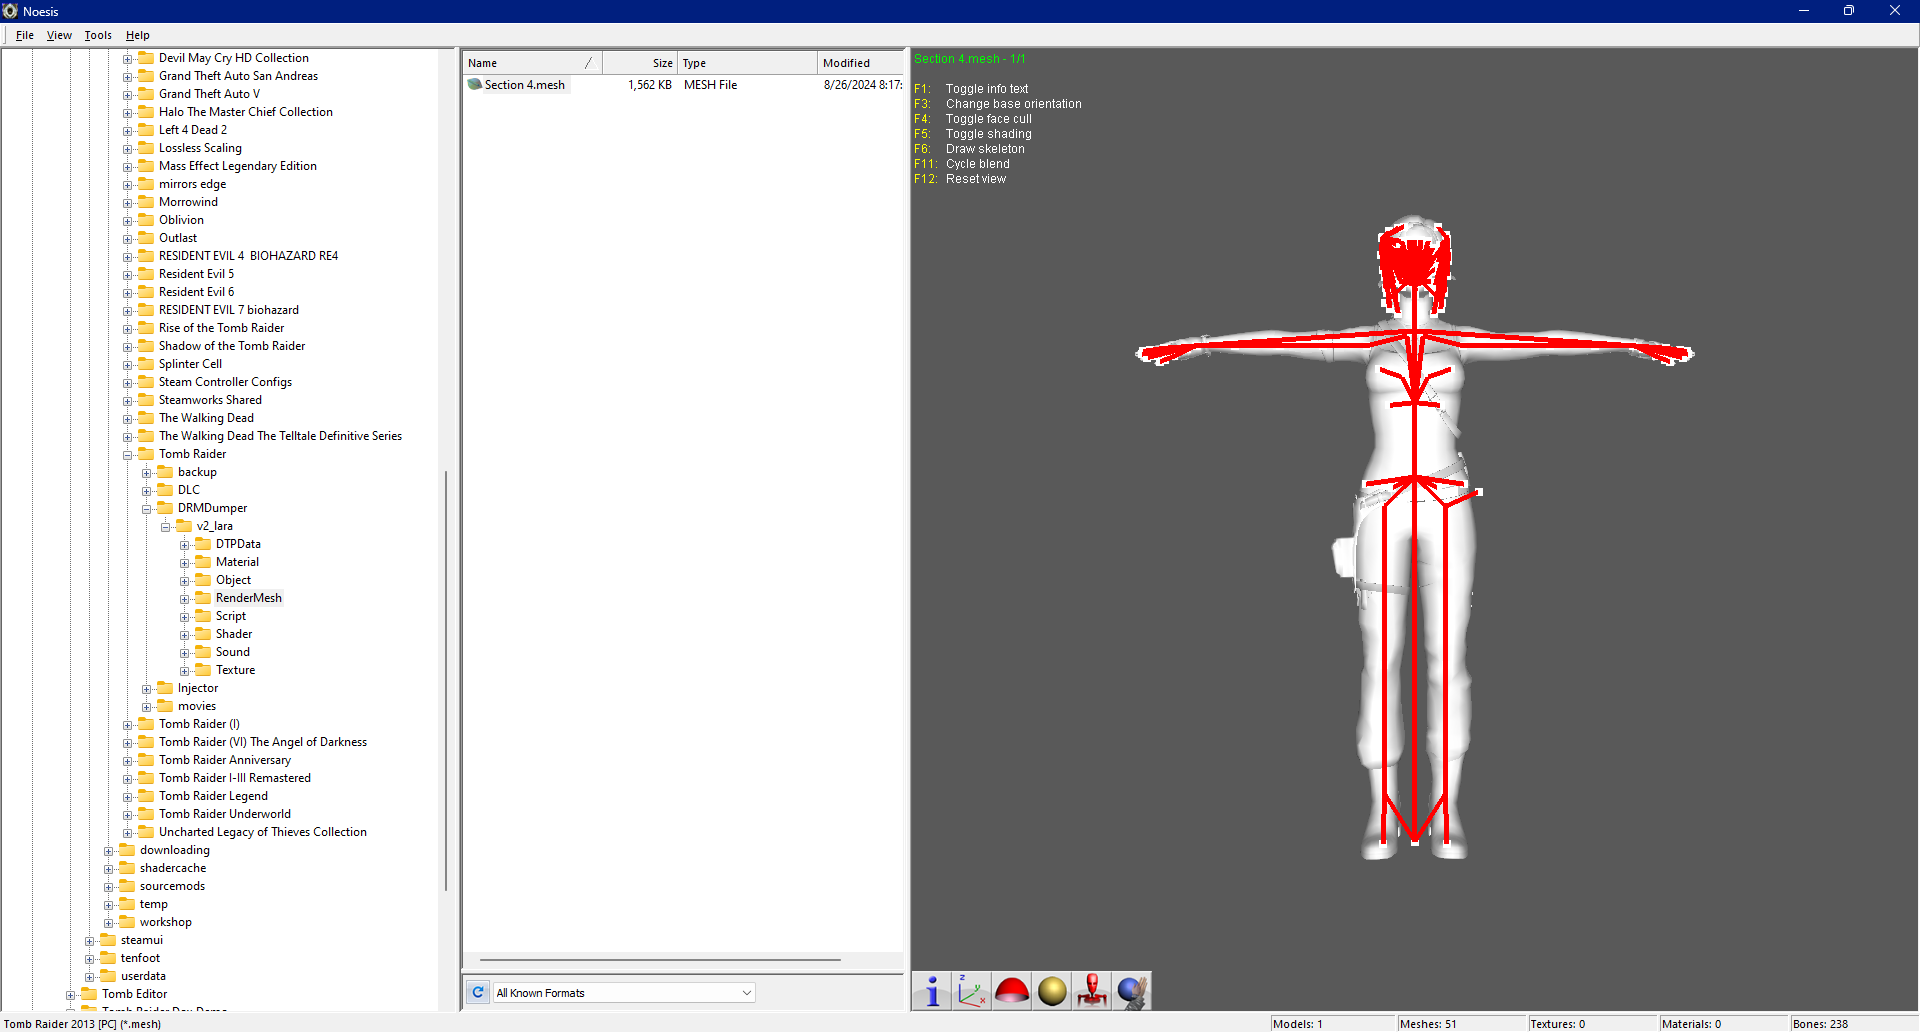
Now you can open Noesis and double click on an extracted
.meshfile to import it and view it. You may also click on the red skeleton button on the bottom left of the viewport to view the skeleton.
-
Click on
File>Export(Or right click with the cursor on the desired file andExport) to export the model to a format importable by any 3D program you're planning to use (.fbxis recommended). No special settings are required here, you may just change the Destination path if you want.

Getting your custom mesh ready for export
-
For this guide, I'm going to use Blender as the example. Go to
File>Import>FBX (.fbx)(or whatever other format you've exported the.meshfile to) and select the.fbxyou've just created. -
Now, if your intention is only to modify Lara's model without importing any new mesh, then you're ready to go ahead and make modifications to the model to your liking.
-
If you want to port a custom model and have created custom mesh mods for other games, then you most likely already know what to do. Import your custom model, tweak it to fit Lara's proportions and rename your custom model's bones to Lara's (or transfer the weights from Lara's model, depends what you feel most comfortable doing or what you think will look best).
-
Rename your custom mesh to Lara's mesh names depending on what material you would like to use (ex. If you want to use Lara's shirt material and replace the shirt textures, rename your mesh to Lara's shirt mesh name).
-
If you've never made custom mesh mods before, stay tuned for both a written and video tutorial I will post regarding this.

Details on the mesh naming scheme
Mesh_X_X: This prefix simply states the order of the mesh, the way it is stored in the .mesh file. These values are irrelevant for the export process, so you may do anything you want with them as long as the number of underscores remains the same. You could rename Mesh to Pants, for example.
dg_X: dg stands for drawgroup. Drawgroups are used by the engine to specify when and if a certain mesh is supposed to be rendered by the game, based on the situation. For example, you'll notice that Lara's right bandaid glove use drawgroup 26, to make sure that the glove is actually only rendered when the game wants it to. You can change drawgroups to your liking. Drawgroup 0 makes sure that the mesh is always rendered, no matter the situation.
mat_x: mat stands for material. This value will determine which material the mesh is going to use. 26 is not the actual ID of the material, it's only the index, based on the order of materials contained in the .mesh file. You may change this value to swap materials.
flag_X: This is a flag that can be set on meshes. The game probably uses dozens or hundreds of these for all sorts of different purposes. However, these are the flags I know about:
- 48: Mesh is rendered and used as shadow
- 49: Mesh is not rendered, only used as shadow
- 50: Mesh is rendered, not used as shadow
pg_X: This value seems to be used to "complete" a set of a mesh (Ex. All of Lara's head meshes use pg 16). This value should be irrelevant, so you can just leave it alone.
Pay attention to the engine's limits:
65536 vertices per mesh
42 skinned bones per mesh
4 weights per vertex
-
If one of your custom meshes exceeds the vertex or skinned bones limits, don't panic: You may simply split your mesh into two or more meshes. As many as you need to make sure none of them are hitting the limits.
-
Once you made sure your model is respecting all the limits listed above, it's time to try exporting your model to the game's format. Select all your custom meshes in the Blender scene, plus the skeleton, then head to
File>Export>FBX (.fbx). EnableSelected Objectsin the Export settings, and you can export.
Using Noesis to Export Models
-
With Noesis open, head to the directory containing the
.fbxfile you've exported. Right click on the file,Export, and onMain output file, select.mesh - Tomb Raider 2013 [PC] from the dropdown, then hitExport`. -
A window will ask you to export over a TR2013 mesh file. Click on
Browseand choose the.meshfile you want to replace. Be careful, you can't export over any other file other than the one you made your model ready for in Blender. Doing so could result in corrupted data. -
The Log in the Export tab will inform you of any irregularity happening with the export process. If everything goes well, your model had no issues and has been successfully exported to the format. If something goes wrong, the Log will tell you exactly what was wrong, and you may go back to Blender to fix the issue and re-export the model.
-
Once the model has been exported to the format, make sure it is named the same as the original file.

Using the Injector to get the model into the game
-
The archive contains an
Injectorfolder. This is a tool created by aman which allows to inject custom assets into the game's.tigerfiles. Drag and drop this folder to your mainTomb Raiderinstallation folder. -
Drag and drop your custom written
.meshfile in the folder, along with the.drmfile that the original file was extracted from, inside the Injector folder. -
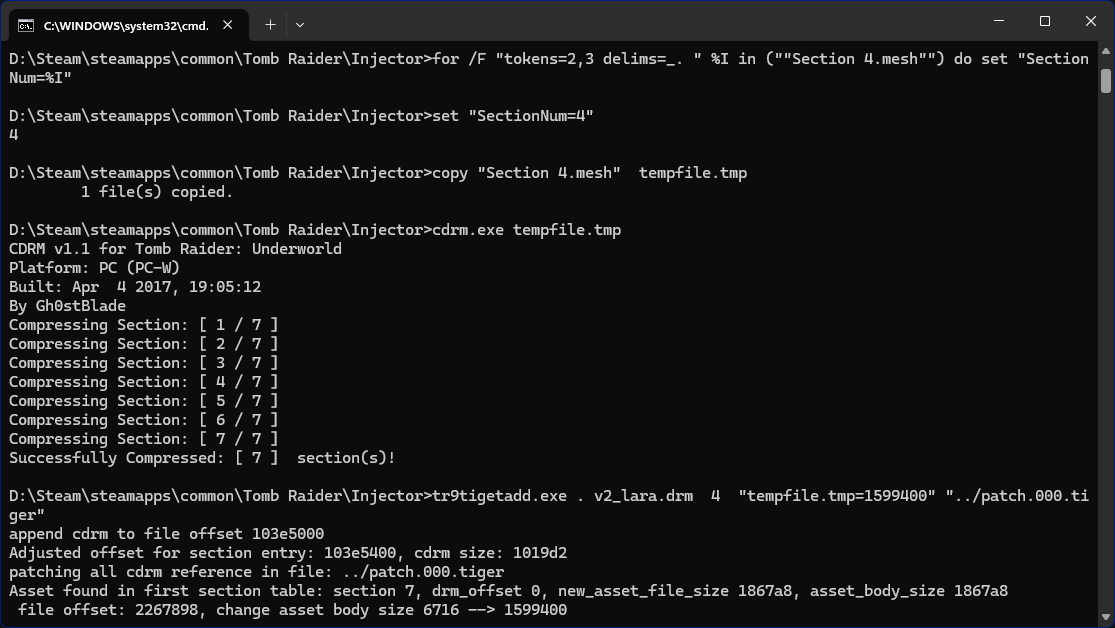
Now double click on the
.batfile named with the.tigerfile the.drmwas stored in. For example, if the.drmcomes frompatch.000.tiger, then double click on.install_patch.bat. -
The tool will take a few seconds to inject your custom
.meshto the.tigerfile. It can go up to taking several minutes or hours depending on how many assets you're trying to inject and how big in size they are. -
If everything goes well, you will see your custom mesh working in the game. Congratulations!

Textures
-
When you extracted the
.drmfile, you must've seen theTexturefolder included in the extracted folder with all the textures extracted inDDSformat. -
The game only uses DXT1 (no alpha) and DXT5 (with alpha) textures. Before exporting your custom texture to
.dds, make sure you know what DXT format the texture you want to replace is using (You can do that by simply importing the texture in whatever photo editing software you're using and checking if it contains an alpha channel or not) (Photoshop is recommended). If the texture has an alpha channel, export to DXT5. If it doesn't, export to DXT1. -
Once your texture has been exported, rename it to the same name as the texture you'd like to replace, and place it in the
Injectorfolder. -
You may inject your texture now. You don't have to inject every single asset one at a time, you may include the
.meshfile and all the needed.ddsfiles in the folder, then use the.batfile. It will automatically inject all the assets one by one.
You should be able to export over any .mesh, so this means you can potentially mod any player, NPC, or environment model. But this wasn't heavily tested so it may not always work. If you encounter a .mesh file which you find issues exporting over, please report.
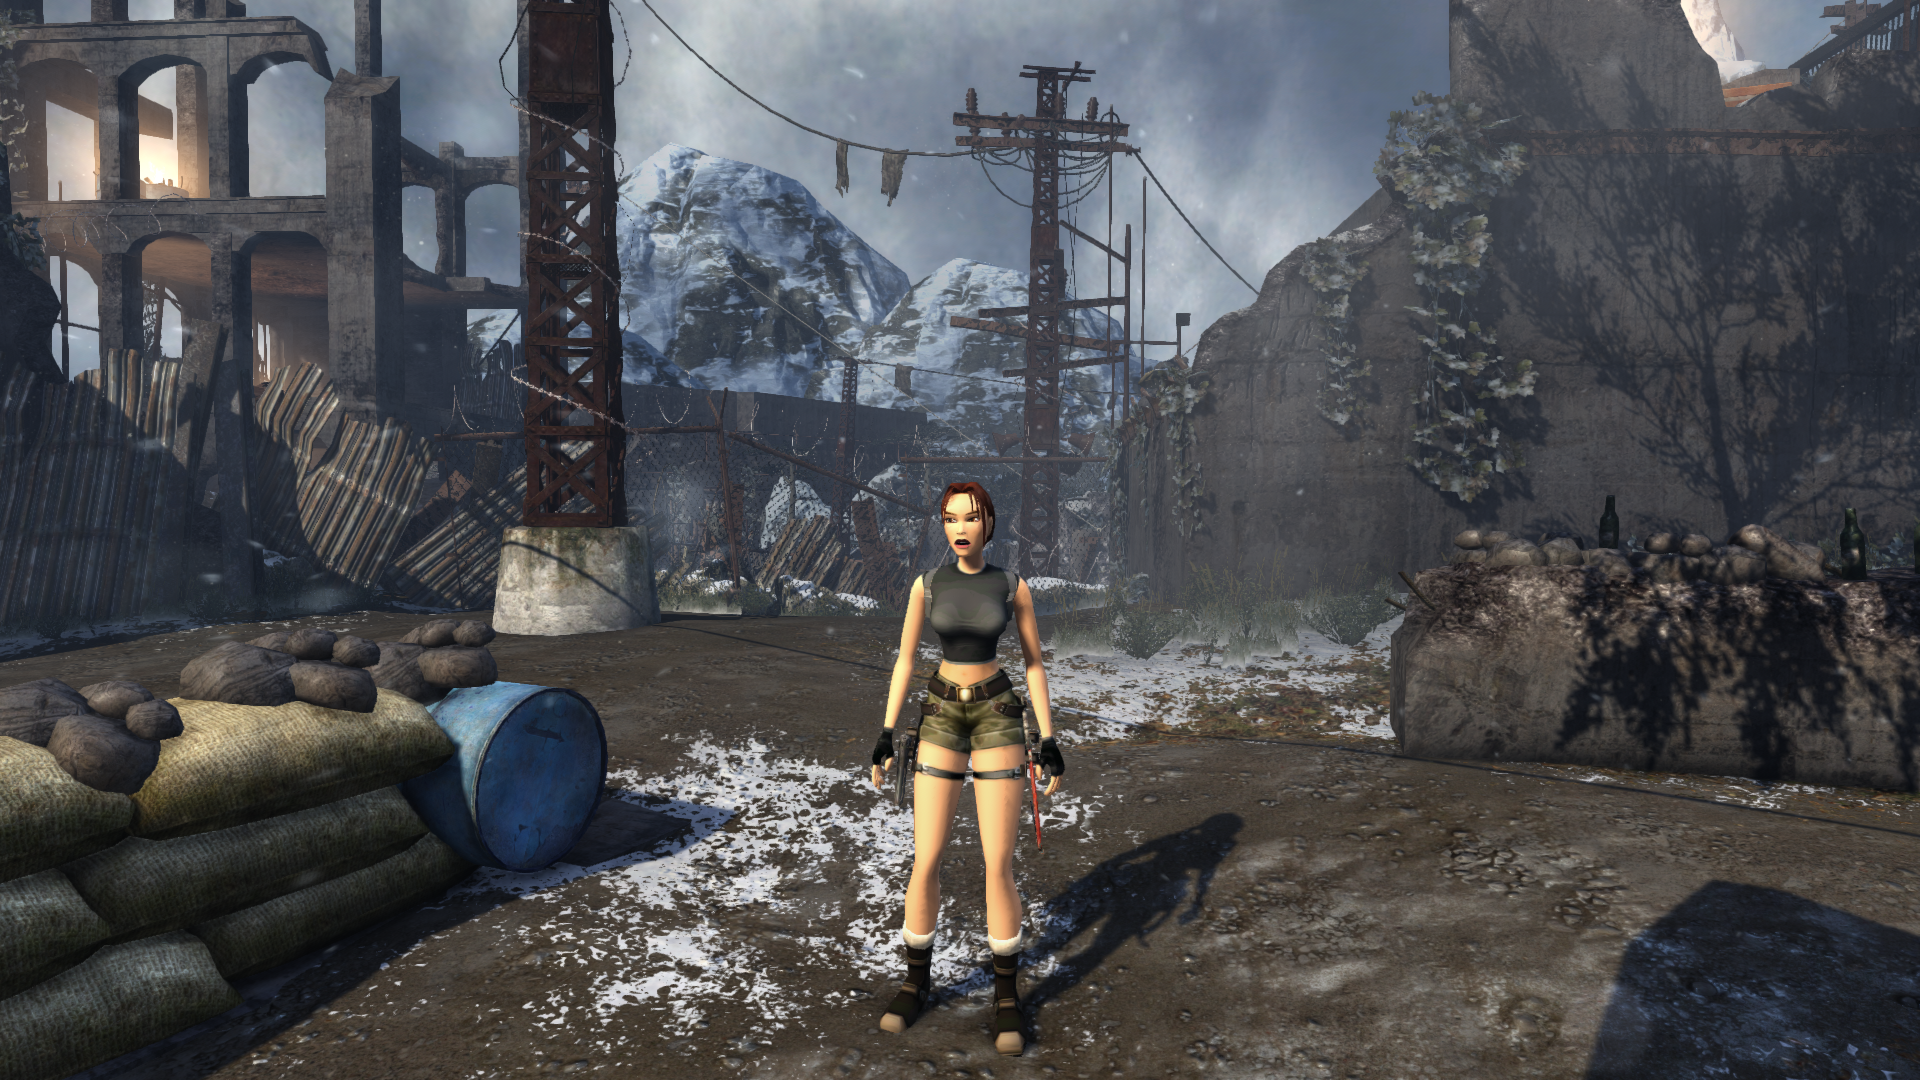
Example of an AoD Lara mod made with the use of the tools:

Raq Updated 02/04/2025